Topping a Tomato Plant – How and Why
Topping a tomato plant – why do it? And what is topping a tomato plant anyway? Sit back, relax and read the how and the why of topping your tomatoes. Then, you can see a video on how to top, and a surprise I had for a plant.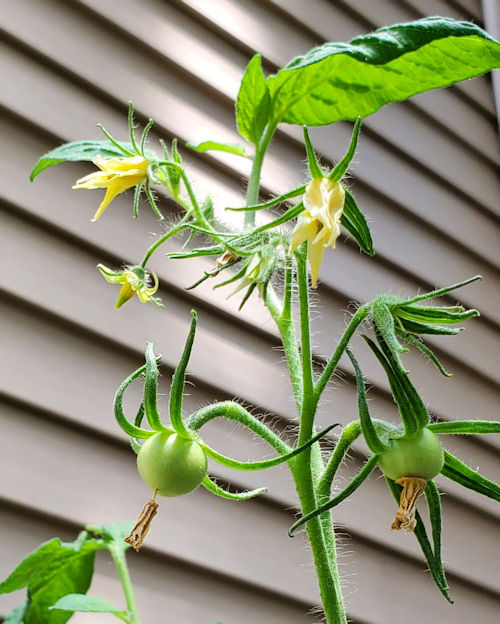
Topping a Tomato Plant — What is It?
Quite literally it’s taking off the growing point…which usually happens to be at the top of the plant. Depending on how you prune it (or not), your tomato plant can have more than one growing point. If you have pruned your plant to just one stem, you only have to take off one growing point.
However, if your tomato plant has more than one stem, you will have more than one growth point. You can choose to top just the tallest, top them all, or anything in between.
Important: You only want to top an indeterminate tomato plant; do not top a determinate — you will sacrifice a lot of your tomatoes if you do it.
Check this post where I talk about the difference between indeterminate and determinate tomatoes.
Why Top a Tomato Plant?
OK, so why would you want to top your plant? There are a few reasons to do it.
Stop the upward growth. Sometimes you have a plant that just keep growing taller and taller, to the point of being unmanageable. If you top the plant, it won’t grow any taller (although it might grow wider).
Ripen existing tomatoes faster. If the tomato isn’t focusing on growing taller, it can direct that energy towards ripening existing fruit. This can be especially useful towards the end of the growing season, when the threat of frost is getting near and your fruit isn’t close enough to ripe yet.
Rejuvenate a stressed tomato plant. I discovered that topping a tomato plant can help to rejuvenate a plant that got too stressed and looks sad. Now I’m not talking about a diseased plant, but one that has been environmentally stressed (too much or too little sun/water/fertilizer/heat). The tomato plant won’t grow upwards from where you topped it, but it can develop suckers lower down that are healthier. That is, assuming you’ve addressed what was stressing your plant.
Encourage larger tomatoes. This one is kind of controversial; some people say it doesn’t help but others swear by it. The idea behind it is if you top the plant, it’s going to direct its energy towards the fruit. If it’s around the middle of your season, the existing tomatoes (and any that are still forming from flowers) have the chance to grow larger than they normally would grow.
A Topping Surprise
I also had something interesting happen to a stressed plant. It had a truss with two tomatoes and what looked like some aborted flowers. The plant was looking so scrawny that I wanted to give it a chance to ripen the two tomatoes it had. Now mind you, the two fruits it had on the truss had been growing (slowly) for a couple of weeks, and it was just the two ‘maters. It was still pretty early in the season so I figured I had nothing to lose.
I topped the plant and waited to see what would happen. I also took off most of the stressed branches except for two or three (for future comparison).
Within a few days, there were new suckers forming lower down on the plant which looked healthier. The following week brought me a huge surprise.
The truss with just the two tomatoes (and what looked like aborted blossoms) had new tomatoes forming! Where once there were two, there were now five! I totally had not expected that to happen.
How to Top a Tomato Plant – Video
In this video I’ll show you how to top your tomato plant. I’ll also show you a “before” and “after” of my topped tomato plant which gave me some surprise tomatoes. I hope you enjoy it! You can also check out my YouTube channel for more garden videos.
Tomato Garden Tour Video June 2020
Tomato garden tour video for mid-June 2020 is what’s on today’s post. I want to do tomato garden tour videos every couple of weeks, so you can see what’s growing. I’m growing tomatoes in Tennessee zone 7A, and it’s way different from growing in S Florida!
Growing Tomatoes in Containers
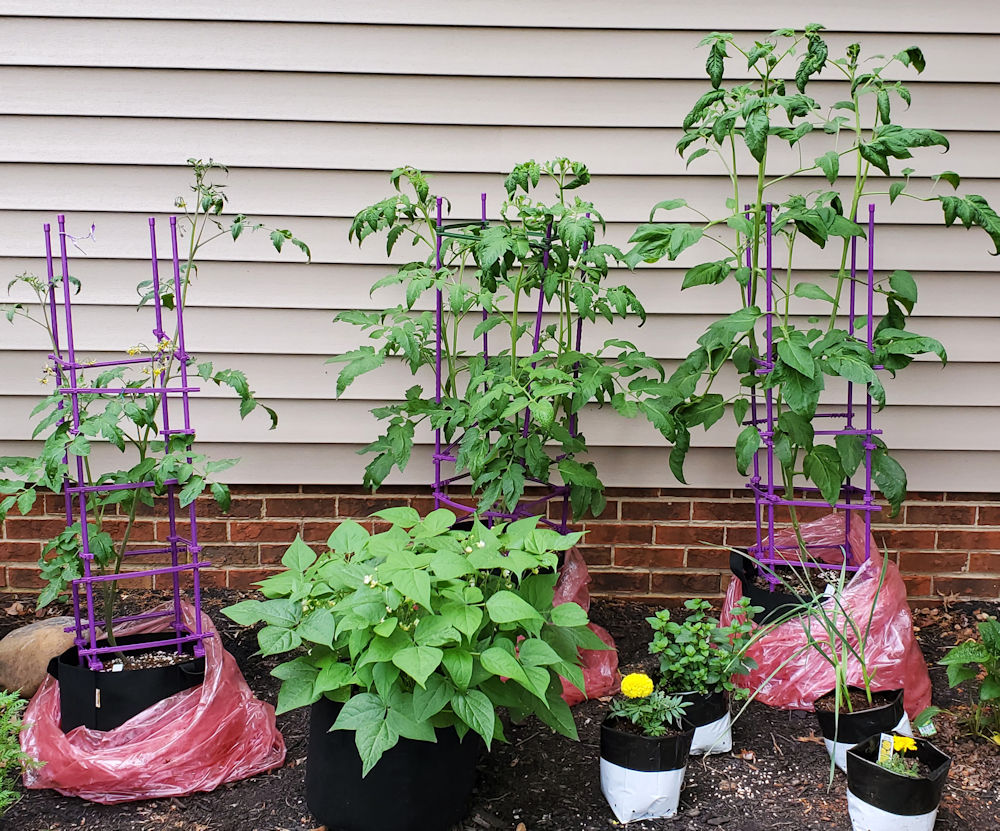
Growing tomatoes in containers is what I have to do in my garden. I explain why in my first tomato garden tour done at the end of May. I find that it’s working pretty well for me. The shade is my biggest enemy when it comes to my gardening. That’s why I have three gardening spots in my yard — no one place is big enough.
Growing Tomatoes in Tennessee
I have to say, it’s much different from S Florida. Instead of two short seasons, I have one long season (mid/late April to mid/late October).
Here in Tennessee it’s frost which defines my seasons; in S Florida, it was the heat and humidity (not to mention hurricanes). It’s my first summer garden here in East Tennessee, and I keep getting told that it does get really hot and humid. However, late last August when we moved here, we had record heat and humidity.
What they call heat and humidity here was nothing more than late Spring weather in S Florida.
Growing tomatoes (peppers and other assorted veggies) is different here. You’ll see from the difference between my first tomato tour and this one, how much it’s grown. In just two weeks!
The biggest problem I have here is the shade in my yard. The trees I so loved in the fall are the bane of my gardening existence now. Which is kind of ironic since in S Florida I had to use a shade cloth.
Tomato Garden Tour Video
I made this tomato garden tour video on June 14th, 2020. The previous tour was on May 30th. I can’t wait to film my next one, somewhere around the end of June — I’m sure I’ll have many more tomatoes to show you.
Just wait until you see Vorlon — that plant is outgrowing stake after stake. I’m beginning to wonder what else I can do for this plant. And it’s growing in a…7 gallon container I think — or maybe 10 gallon. Either way, I never thought it would get this big in a not-so-big container.
All this being said, here’s my tomato tour video for June 2020. Hope you enjoy it, and keep a lookout for my next tour! (And if you want to see more garden tours in general, check out my YouTube channel.)
Tomato Garden Tour – May 2020 Garden Tour Video
Tomato garden tour time! I have a tomato garden tour video for you, which I filmed at the end of May, 2020. I decided that it was time that I start doing videos of the tomato garden, to you can see what growing tomatoes in Tennessee is like for me.
A few things, though. I started all my tomato plants from seed, and I grow all of them in containers of various sizes — all the way from 1 gallon to 10 gallons. I almost broke down and bought a SunGold tomato start from Home Depot, but didn’t since I already had a few too many seedlings at home, waiting for a container. 😉
Growing Tomatoes in Containers
There are two main reasons I have for growing tomatoes in containers. First, the soil in my yard is rocky and hard clay, and I literally have to use a pick axe to dig a hole. (I have planted a few things in the ground, but they have all been flowers or herbs, and a good portion of them perennials.)
My second reason for growing tomatoes in containers is that I have a shade problem. There isn’t any spot in my yard that gets 6 hours of direct sun a day, except for maybe a small slice in the front. Six hours of direct sun is the minimum needed for fruit-bearing veggies, but growing tomatoes in containers allows me to move plants around to maximize the sun I do get.
(I’ll do a video and post on semi-shade gardening in the future and will link to that when I have it up.)
In any case, I have three different garden areas in my yard — front, side and back — to let me grow as many tomato plants as I can, based on the amount of sun I get in the spaces.
Tomato Garden Tour Video
As I mentioned before, this tomato garden tour video is the first of my tomato-growing season in Tennessee zone 7A. This is my first year for growing tomatoes in Tennessee as opposed to Florida it’s waaaaay different! It’s not only the soil (sandy in Florida), but the heat and humidity (less of both). Plus, since I had to start my garden in February in S. Florida I was pretty much finished by June. Here in Tennessee…June is just barely the start of the growing season!
I filmed the tomato garden tour on May 30th, 2020. Here’s the video, and I hope you like it! I’ll likely have even more tomatoes in the next tour, as I still have seedlings that need to be planted out — so stay tuned!
Tomato Garden May 2020 – What’s Really Growing?
My tomato garden in 2020 has had a wild ride since February. Between my (mostly failed) hydroponics try, a surprise snow, an unpleasant discovery about trees and seeds that either didn’t sprout or didn’t thrive, I’ve had to make lots of changes. So now that it’s May, what’s really growing in my homegrown tomato garden?
Tomato Varieties in the Garden
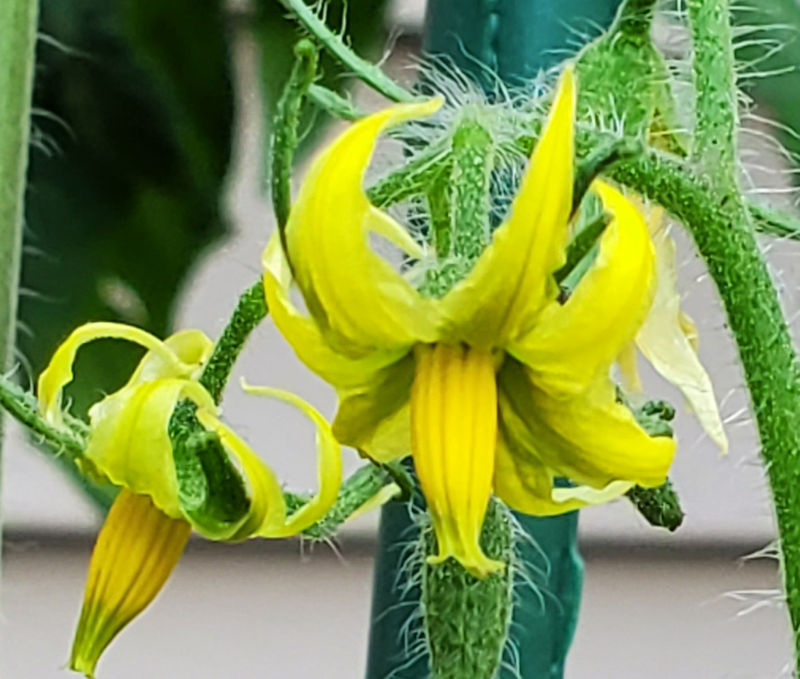 I’ve started tomato seeds from a lot of different varieties, but not all have sprouted and thrived. Some were definitely due to user error (mine), some seemed to be issues with the seeds themselves. For example, I planted six seeds of Red Robin, but only 1 sprouted — go figure. But, here’ a list of what I have in the garden, or are within a couple of weeks from going into their final place in the garden.
- Vorlon (which I have nicknamed “Kosh”)
- Blue Beauty
- Girl Girl’s Weird Thing
- Alice’s Dream
- Jochalos
- Red Robin
- Earl’s Faux
- Stormin’ Norman
- Tennessee Yellow Cherry
- Dwarf Arctic Rose
- Dwarf Wild Fred
- Sleeping Lady
- Red Brandywine, Potato Leaf
- Aussie
- Unlabeled dwarf (might be BrandyFred, but not sure yet)
- Cherry Princess Sweet Surprise
Who’s Doing What?
The first four to go outside were Red Robin (miniature early determinate), Vorlon, Blue Beauty and Girl Girl’s Weird Thing (all mid-season indeterminates). They went outside far too early, but in the case of Vorlon, Blue Beauty and Girl Girl’s Weird Thing (which I will abbreviate GGWT), I had to rescue them from a failed hydroponics experiment. And also, I am still trying to find my way growing in Tennessee versus Florida — in late February, my Florida tomato garden was fully planted. So, I jumped the gun — my bad.
Before I tell you how they are all performing, I will say this — next year, I won’t be starting my seeds in late January, because they are ready to go outside by mid-March, and it’s just too chilly for them to thrive. The seeds I planted in March have done the best overall, since we didn’t get really stable weather until late April. (Even then, we got s surprise late freeze in early May, three weeks after our last average frost date.)
Vorlon is the tallest by a fair amount, but GGWT wins the prize for overall size — it’s grown up and out. Blue Beauty is wimpy as a plant, but it’s got more open blossoms than the other two combined. However, for all three of these plants — they started setting out blossoms before the May freeze, and all the blossoms aborted. The second set for each all failed. They are now all in flower and crossing fingers, they will set some tomatoes this time. I guess that is what happens when you try to plant out too soon!
R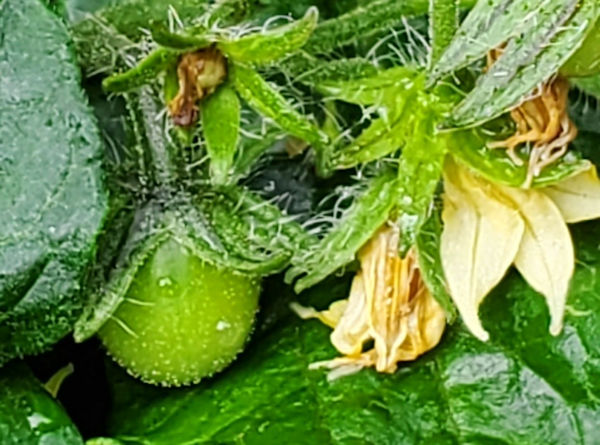 ed Robin won the prize for the first plant to set tomatoes. They are teeny-tiny, but so cute! Not to mention that it has a ton of blossoms, and didn’t react as badly to the late cold weather.
Alice’s Dream and Stormin’ Norman are in the process of creating a large number of blossoms — and they were some of the early March seed starts. Tennessee Yellow Cherry also has a good number of flower buds forming.
Earl’s Faux is a little slow when it comes to flowering, although it’s starting to form buds. It was a mid-February seed start, so it had more cold weather to contend with. I have to admit though — it’s a beautiful plant!
Jochalos is starting to blossom, as is Dwarf Arctic Rose. My unlabeled dwarf tomato is also starting to form buds.
The rest (Dwarf Wild Fred, Sleeping Lady, Aussie, Red Brandywine Potato Leaf and Cherry Princess Sweet Surprise) are a couple more weeks from being ready to be set out into their final garden spots — they were the last sets of seeds I started. I’ve potted them up at least once (twice in the case of Dwarf Wild Fred), but they are in the holding spot — dappled sunlight for a few hours then full sun for another two or three hours.
Some varieties I only have one plant, but some I have multiples. I ended up with three Earl’s Faux, two Alice’s Dream, two Stormin’ Norman. I also have two Aussie (although one might not make it) and a second Tennessee Yellow Cherry. I thought I was losing the older Tennessee Yellow Cherry to the cold, so I started a new seed. Surprise — the original one made it through the rough weather. Hmm, I think I may have two Red Brandywine Potato Leaf plants as well.
I did not grow Pink Brandywine this year. It’s a luscious tomato, but it never produced really well for me when I was in Florida. However, I decided to give Red Brandywine Potato Leaf a try, and see what happens.
So What About the Trees?
This is another thing I’ve had to learn the hard way. In South Florida, our trees never dropped leaves, and also I knew about how many hours of sun the various parts of our yard got, even allowing for changes in the sun’s angle during the year.
Here in East Tennessee, I discovered that my main garden area was getting shaded out when the trees started leafing out. What started out as six hours of full sun dwindled to maybe three hours at one point, with some dappled shade for perhaps another hour. Thankfully, the sun’s angle has changed enough so that the area gets a couple of hours of dappled shade and a little over four hours of direct sun. Not as much as I really want, but our yard is so full of trees I am having to make do.
I did find two other spots that receive about six hours of full sun through the course of the day, so I have more tomatoes there. Plus some peppers, beans, cucumbers, squash and assorted other herbs and flowers.
I also discovered that there is a family of rabbits somewhere nearby, as well as some dastardly squirrels and a chipmunk. Since all my plants are in containers, the bunnies haven’t been a problem yet. Not sure what’s going to happen when the cukes start to trail over the sides.
Definitely not sure what the squirrels and chipmunk will do, when faced with the temptation of garden fruit. Good or bad, I also have some hot peppers which are planted amongst the various tomatoes and other plants. I also discovered that squirrels do not like the smell of peppermint (story for another time), so I have several types of mints and fragrant herbs scattered around as well.
DIY Indoor Hydroponic Tomatoes
DIY indoor hydroponic tomatoes have caught my attention recently, thanks to my husband. He was browsing on the internet and somehow came across some ebooks on hydroponics, and he bought them for me. Seeing as the soil here in Tennessee (at least in my yard) is clay and rock (yikes!) I had planned on growing tomatoes in containers. Well, hubby thought that if I planned to do containers, why not hydroponics?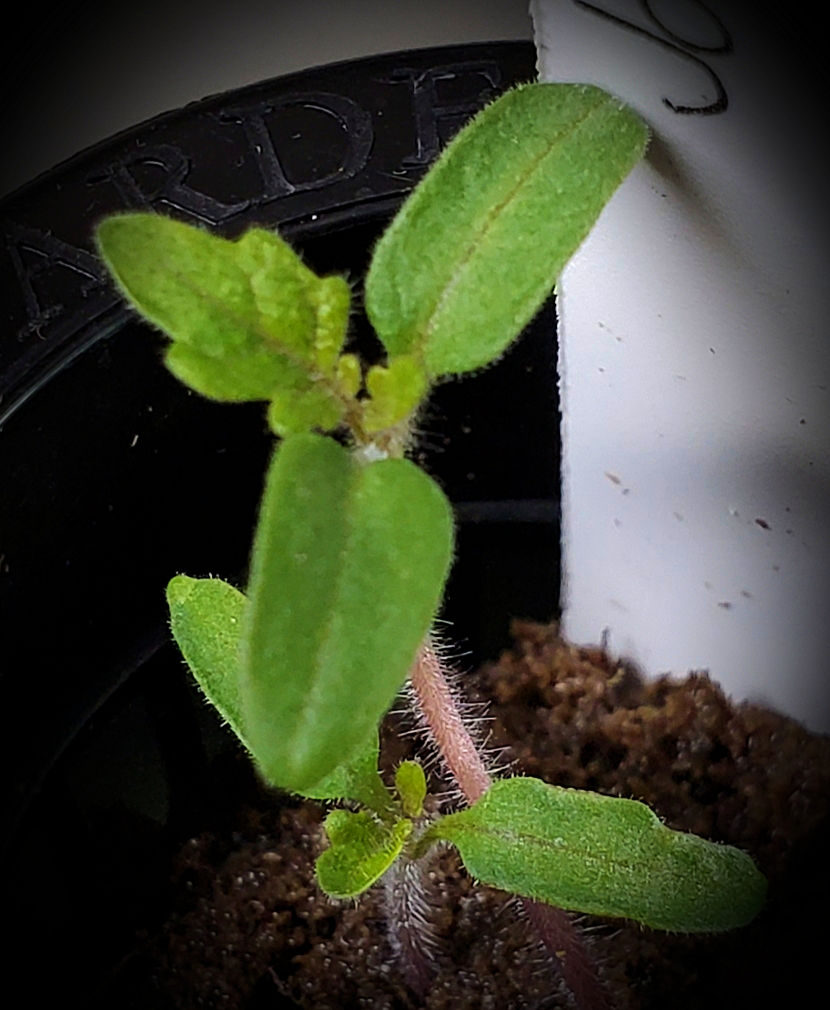
No lugging home bags and bags of potting mix, compost, perlite, etc. and getting dirty in the process. (I had calculated I would need something like 10 bags (40 lbs each) of potting mix, another 10 to 15 of compost, plus the perlite, vermiculite and such to start from scratch up here.)
Hydroponic Ebooks and Their Effect
So, I read the ebooks, and it didn’t seem to be very feasible for me. All those pumps and airlines, flowing water, misters and so on. The garden area I have picked out has 1) no water and 2) no electricity. The nearest hose bib is about 50 or so feet away, and there are zero electrical outlets.
Just for fun, I went onto Amazon and looked up some hydroponic systems, and I wasn’t overly fond of some of the full-blown systems. They were actually less expensive than I thought they would be, but they seemed to be more for leafy veggies and herbs than tomatoes, peppers, cucumbers, etc.
Then I came across something very, very intriguing.
Enter the Kratky Method of Hydroponics
Hmmm, here was something interesting! Dr. B.A. Kratky of the University of Hawaii came up with a hydroponics system that required no pumps, no circulating water, no mister, no electricity. The setup described seemed perfect for growing just about anything…like tomatoes and peppers and cucumbers. Lettuce, herbs, flowers, squash — a multitude of plants.
Wow — no electrical outlets needed, no misters, no hoses! It’s a “set it and forget it” system.
I’ll write up a whole post about the Kratky Method (as it is now known) and how it works, but it seems to be very easy to set up. Pick a good sized container, cut some holes in the lid, grab some net pots and fertilizer, add water and you’re good to go. (Yes, there is a little more to it than that, but it’s a broad outline)
Growing Tomatoes in a DIY Hydroponic Setup
It’s still Winter, and here in Eastern Tennessee it’s still pretty chilly at night — in the 30s, and the days are in the upper 40s. But it’s not too soon to start seeds! And I have decided to run a test for growing some micro-dwarf tomatoes indoors using a very, very DIY (and very inexpensive) setup. Like a gallon water jug, some fertilizer, a net pot and good lighting. Oh, and tomato seedlings!
Growing Indoors – and a Test!
The test will also be comparing growing the tomatoes in a hydroponic setup versus a grow bag. I’ve picked the tomato variety Red Robin since it’s a micro-dwarf (only getting 8 or so inches tall).
I’ll have the hydroponic tomato plant in a 1-gallon water jug, and the other plant in a 1-gallon grow bag with a potting mix. They will be growing side-by-side in a south-facing window, and I will also have some supplemental lighting.
Container Gardening Too
Not to fear, I will still be doing some regular container gardening with my grow bags. I’ve had plenty of experience with grow bags, and none with hydroponics. I want to make sure that if I do something wrong with the hydro, I’ll still have some plants growing the usual methods! (Gotta have some homegrown tomatoes, in any way I can get them.)
So look for more posts on the Kratky hydroponics setup, how the plants are growing, and tomatoes in general. It should be a very interesting gardening year!
